During winter, take care of your pavers, decks, and patios to ensure they stay clean and protected from the cold. Don’t skip out on winterizing your outdoor space so it’s ready to weather the cold and remain in good shape for the spring.
1. Paver Care: Prepare Your Patio
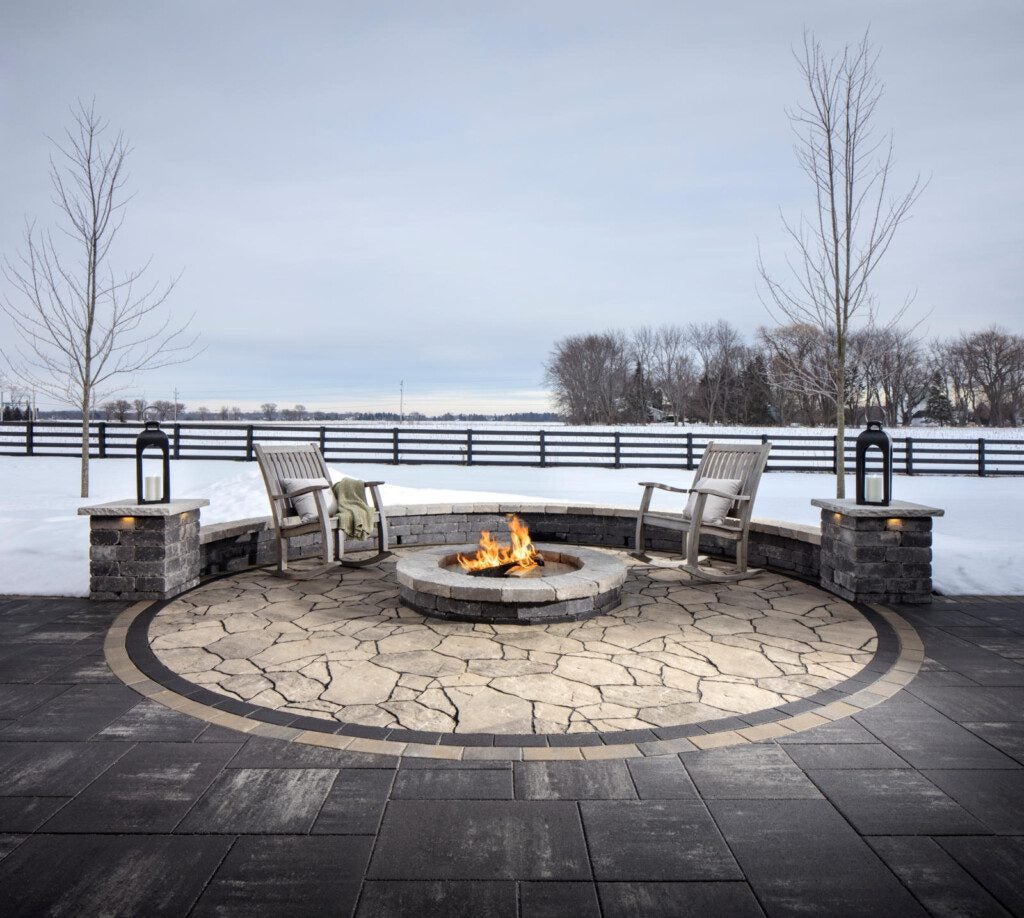
If you have pavers, you’ve probably already noticed their durability and how they perform under a wide variety of weather conditions. Here are some steps to help winterize your pavers so they continue to maintain their color and texture well into the future.
- Give Pavers a Thorough Cleaning—Organic matter like sticks, wet leaves, pine needles, and more can cause stains if left over time. Mold or mildew can also stain pavers. Clear your pavers of sticks and leaves. Use a broom, brush, or pressure washer to make them look brighter and cleaner after winter. You can also find specially formulated cleaning solutions that help tackle those tough stains.
- Water Runoff Can be Damaging—The next time it rains, take a closer look at your gutter downspout. Water on pavers can lead to ice formation in cold weather, which may cause damage to pavers or joints. Purchase a downspout extension to send your water to your lawn or landscape border.
- Remove the Heavies—If you have heavy furniture, flower pots, or large decorative items, these can cause rings, stains, and sunken spots during wet or freezing weather. Relocate these objects to a different place.
- Give Your Pavers the Seal of Approval—To outfit your pavers with the ultimate weapon to withstand winter, use a hardscape sealant to prevent water and ice damage. These substances can degrade the surface of pavers over time. Techniseal® Sealant is a preferred choice to help keep pavers sealed away from water and ice and prevent damage. Applying sealers every three years is recommended.
- Be Careful When De-Icing—Using the wrong de-icing agent on paver patios, walkways, and driveways can do more harm than good. Some salt-based de-icers can cause hardscapes to degrade at a faster pace. Choose a paver-safe product instead, such as magnesium chloride, or a safer solution, such as a sodium-free ice-melt product like Enviro-Thaw.
2. Wooden Decks & Winter Weather

Environmental elements can harm wooden decks, even if they are sealed, because of their porous nature. Wooden decks are a little more maintenance-heavy than pavers. However, many of the same steps for maintaining pavers pertain to wooden decks, as well.
- Declutter & Clean—First, remove all furniture, potted plants, and debris from your wooden deck, then power wash the deck to remove dirt and grime. Look for areas, especially shady and damp spots, where mold and mildew may be growing. Use a product like 30 Seconds Outdoor Cleaner to kill these growths and stop them from returning. Make sure that all gaps between boards are clear of dirt and debris so that water and snow melt can drain easily.
- Time for an Inspection—Perform a thorough inspection of the deck, looking for damage like loose boards, nails, or screws. Make all necessary repairs to ensure the deck is safe and sturdy. Failure to perform repairs can put your deck on the path to severe disrepair after harsh snows or winter rains.
- Seal it Up!— If you don’t seal a wooden deck and reapply the sealant at regular intervals, the wood will eventually rot and fall into disrepair. Using a high-quality deck sealer like Behr or waterproof stain like Thompson’s, you can protect the wood from moisture, UV rays, and the wear and tear of winter. Be sure you choose a product designed for your specific deck material.
- Cover it Up—If you live in a region prone to high amounts of snow and ice, consider using a deck cover or awning to provide an extra layer of protection to help extend the life of your deck. For severe snows and ice storms, a securely anchored tarp is another option. Just be sure that you have the proper ventilation to prevent moisture buildup as the snow thaws.
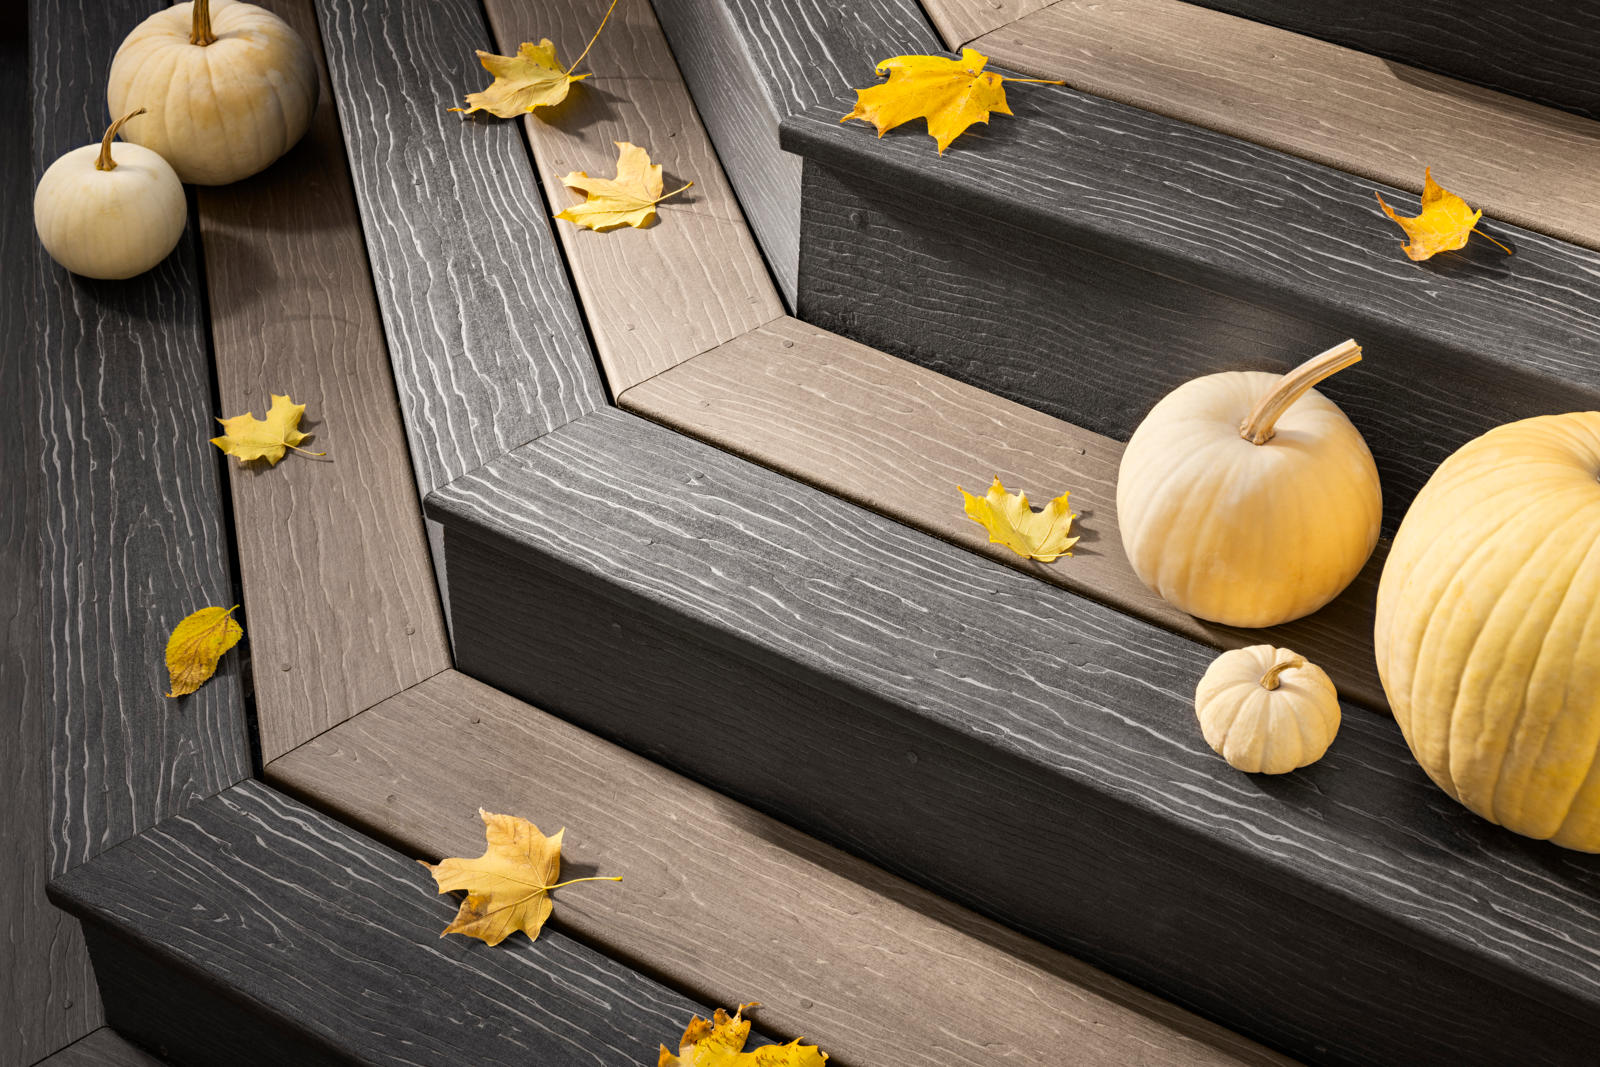
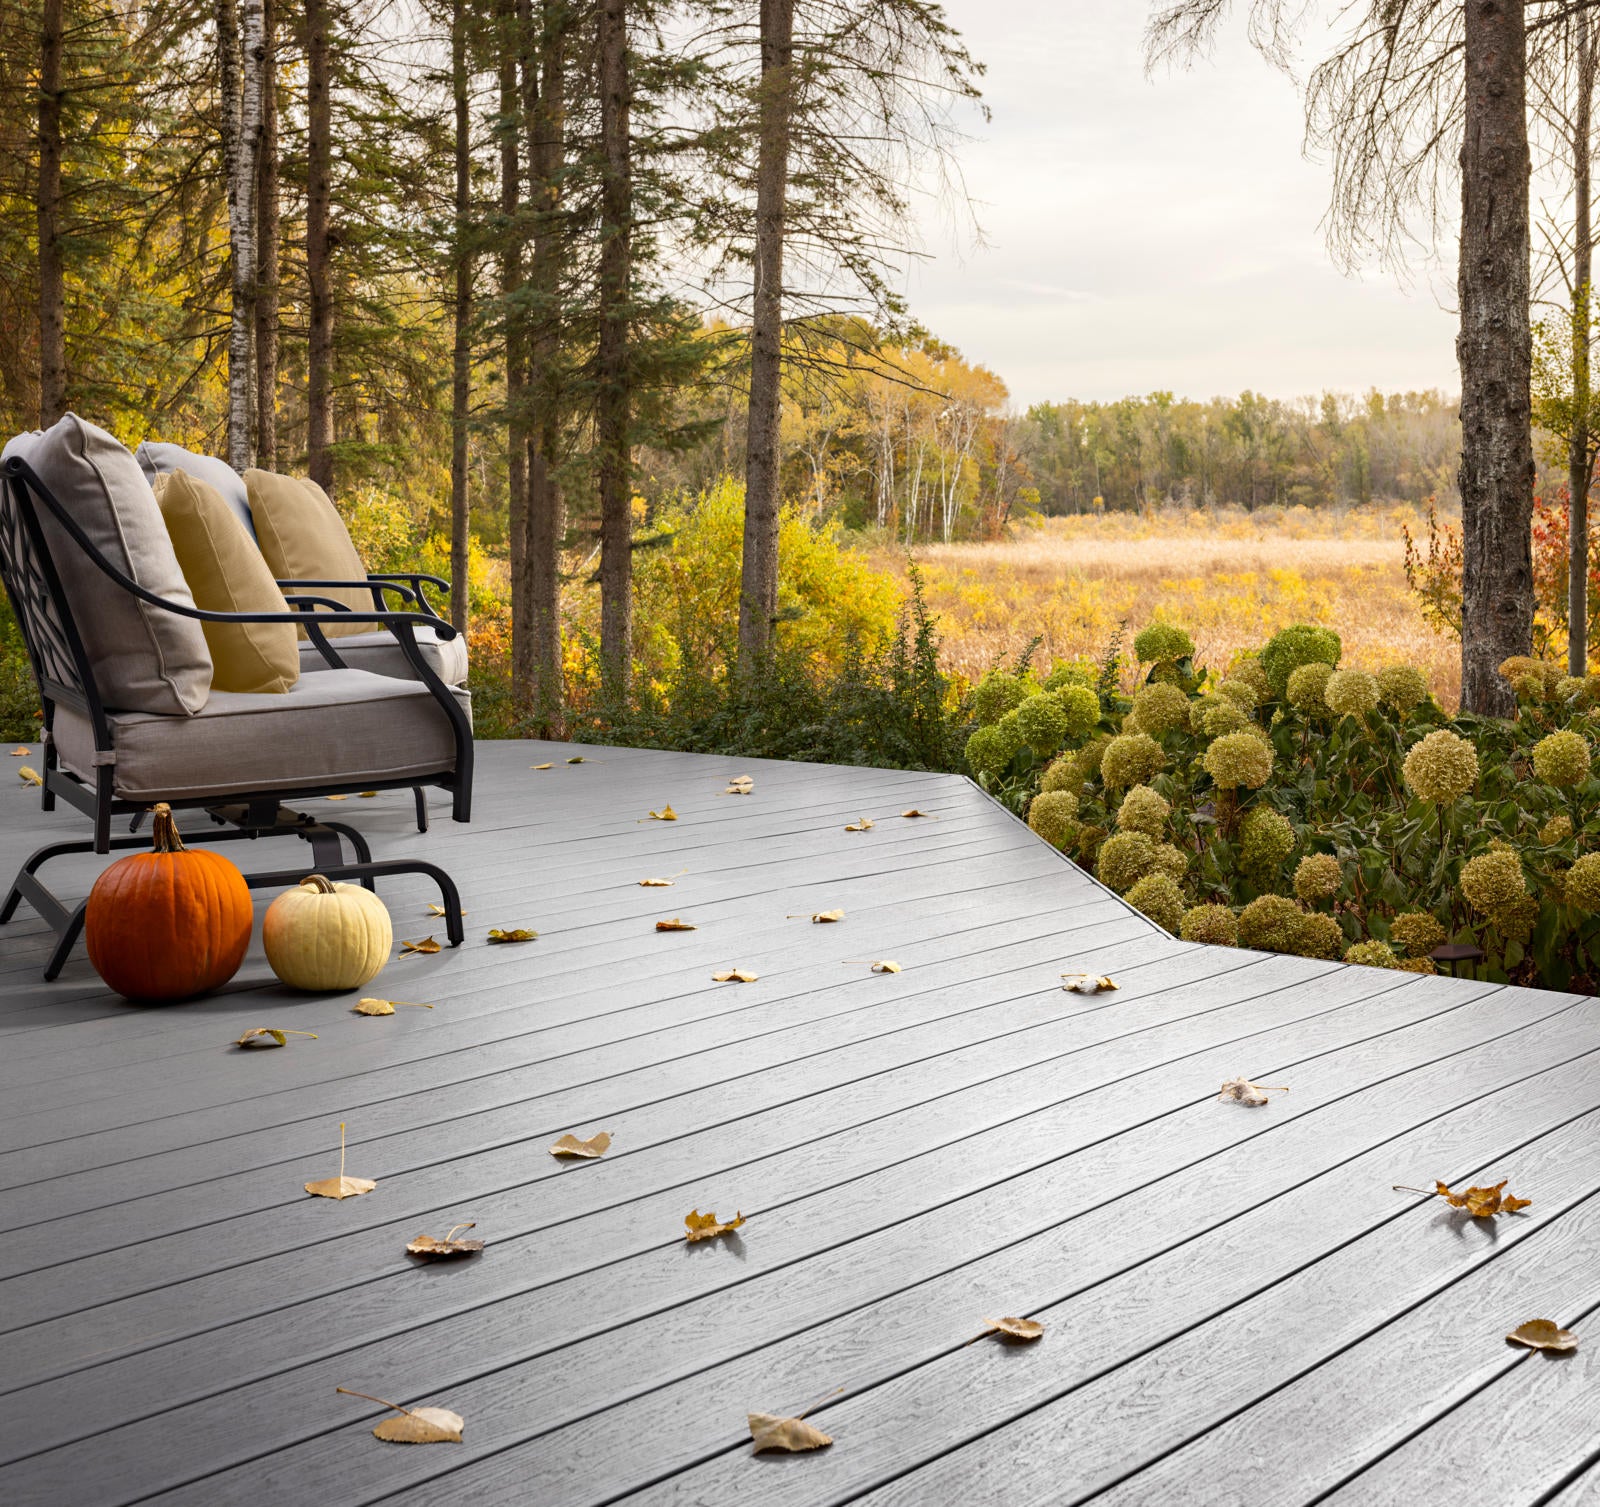
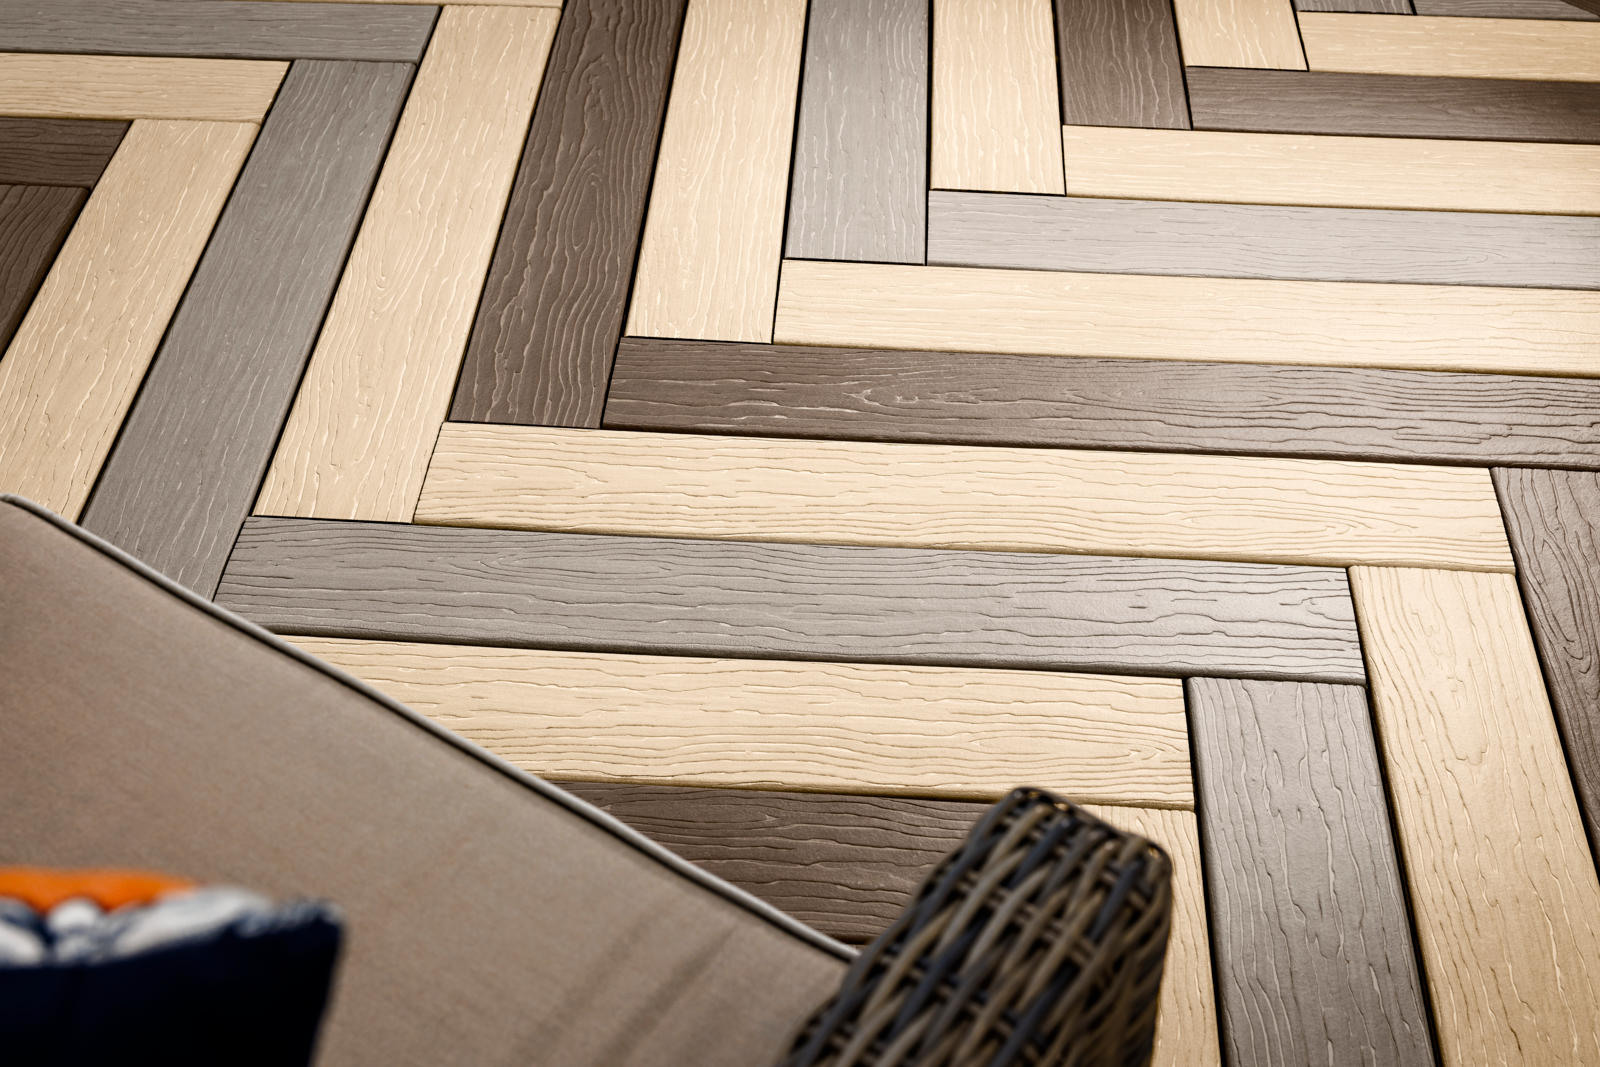
- Explore Composite Decking—If you love the look of a real wood deck, but don’t care much for the maintenance, you should consider composite decking from MoistureShield. The proprietary production process offers an impermeable barrier that fights damage from moisture, rot, insects, and other harmful elements. MoistureShield guarantees no warping or rotting and has experienced zero structural field failures in 30+ years. Maintenance is low, consisting of simple cleaning to remove dirt, mold and mildew.
3. Pool Care in Cold Air
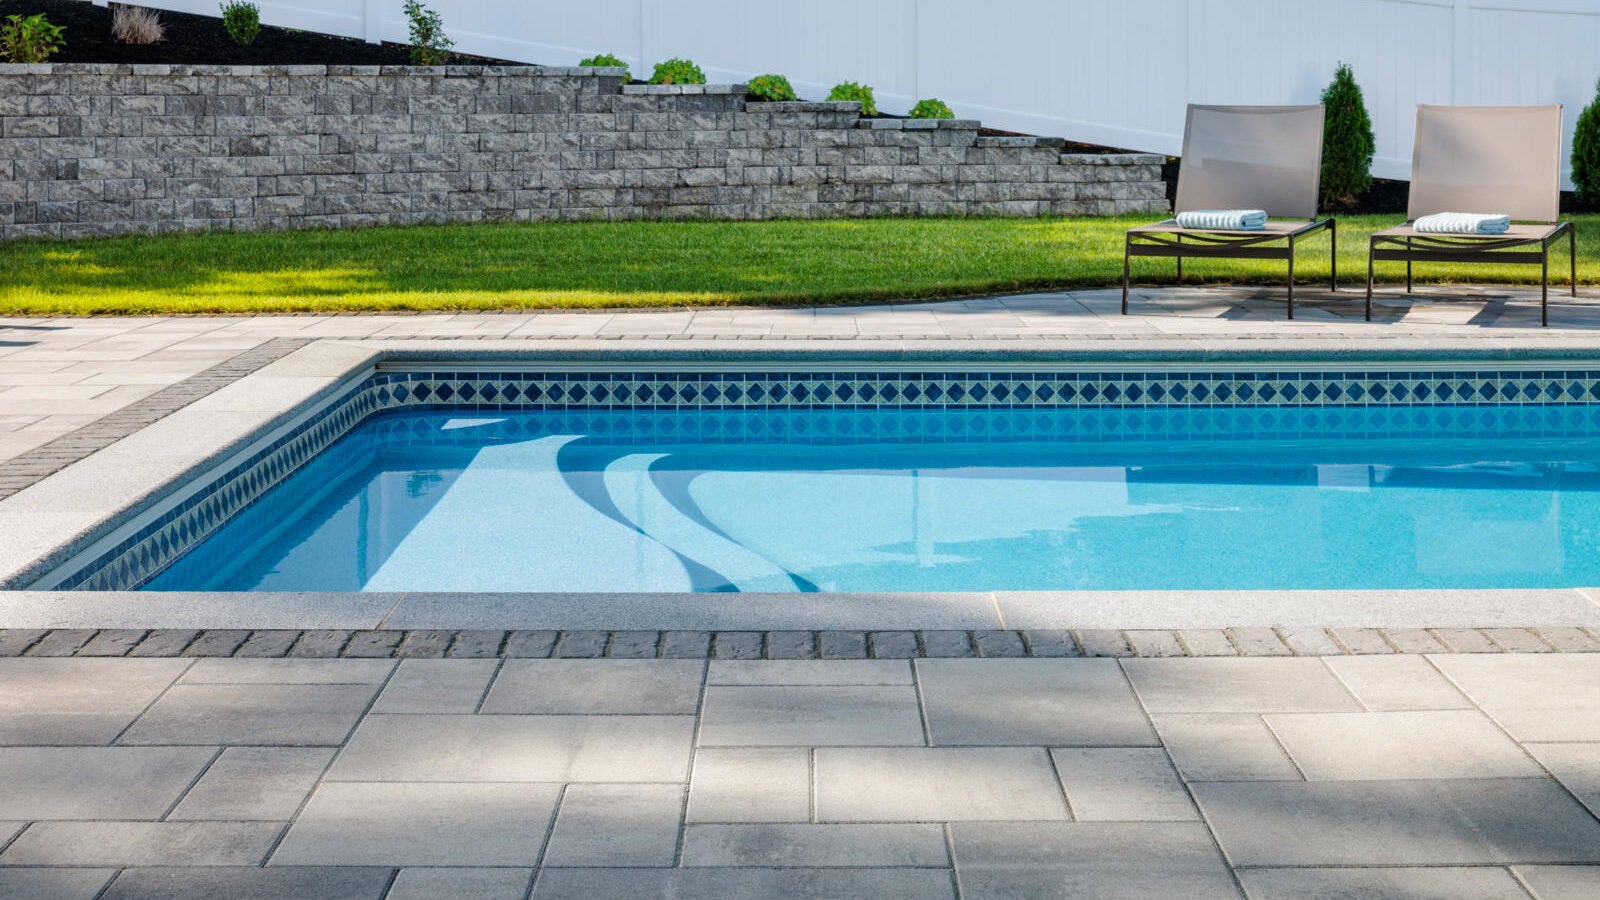
Winterizing your pool is a very important part of protecting this significant investment. When the temperatures get down to 65 degrees or lower, it’s time.
- Preliminary Planning— A week before closing the pool, test the water chemistry to make sure the alkalinity is between 80 and 150 parts per million (ppm), the pH level is between 7.2 and 7.6, the calcium hardness level is between 175 and 225 ppm, and the chlorine level is between 1 ppm and 3 ppm. It’s ok to go a little higher for each of these measurements since the levels will naturally decrease as time passes.
- Clean it Up—Begin your cleaning process by removing accessories like skimmer baskets, ladders, steps, and anything else from the pool. Hose off any dirt and algae, and make sure your pool is as clean as possible by removing all leaves, silt, and other debris. This process will make it easier to balance the water chemistry and prevent mold and algae growth, which will make a much happier pool when it’s time to take your first dip next summer.
- Manage the Water Level—You will need to lower the water level of your pool before closing it up if you live in an area where the water will freeze during the winter. If you live in warmer climates where water may not freeze at all, then you may consider skipping this step. If you are using a permeable, non-vinyl liner or mesh, you can bring the water down to two feet below your tile line or skimmer. If you are using a vinyl liner, you may bring it down one inch. For solid-non-vinyl liners, two feet is more suitable.
- Drain Time—If you live in an area where freezing winter temperatures are common, it is very important to drain all the equipment (filter, pump, heater, etc.) so the water won’t expand and cause damage. Also, clear the water from the pool lines using a blower, then plug them up with expansion plugs. If you want to be extra careful about preventing burst pipes, consider adding pool antifreeze.
- Shock and Cover—The final step is covering your pool. First, add shock to kill bacteria and algaecide to kill algae. Follow the directions closely on these products and make sure you spread the chemicals around the pool evenly, instead of pouring them in just one area.
- Get the Best—If you’re thinking about installing a pool or need to upgrade your pool finish, consider PebbleTec®, the world’s most trusted premium pool finishes. This product is not only beautiful but offers excellent long-term durability along with expert customer support.
4. When is it time to shut down the outdoor kitchen?
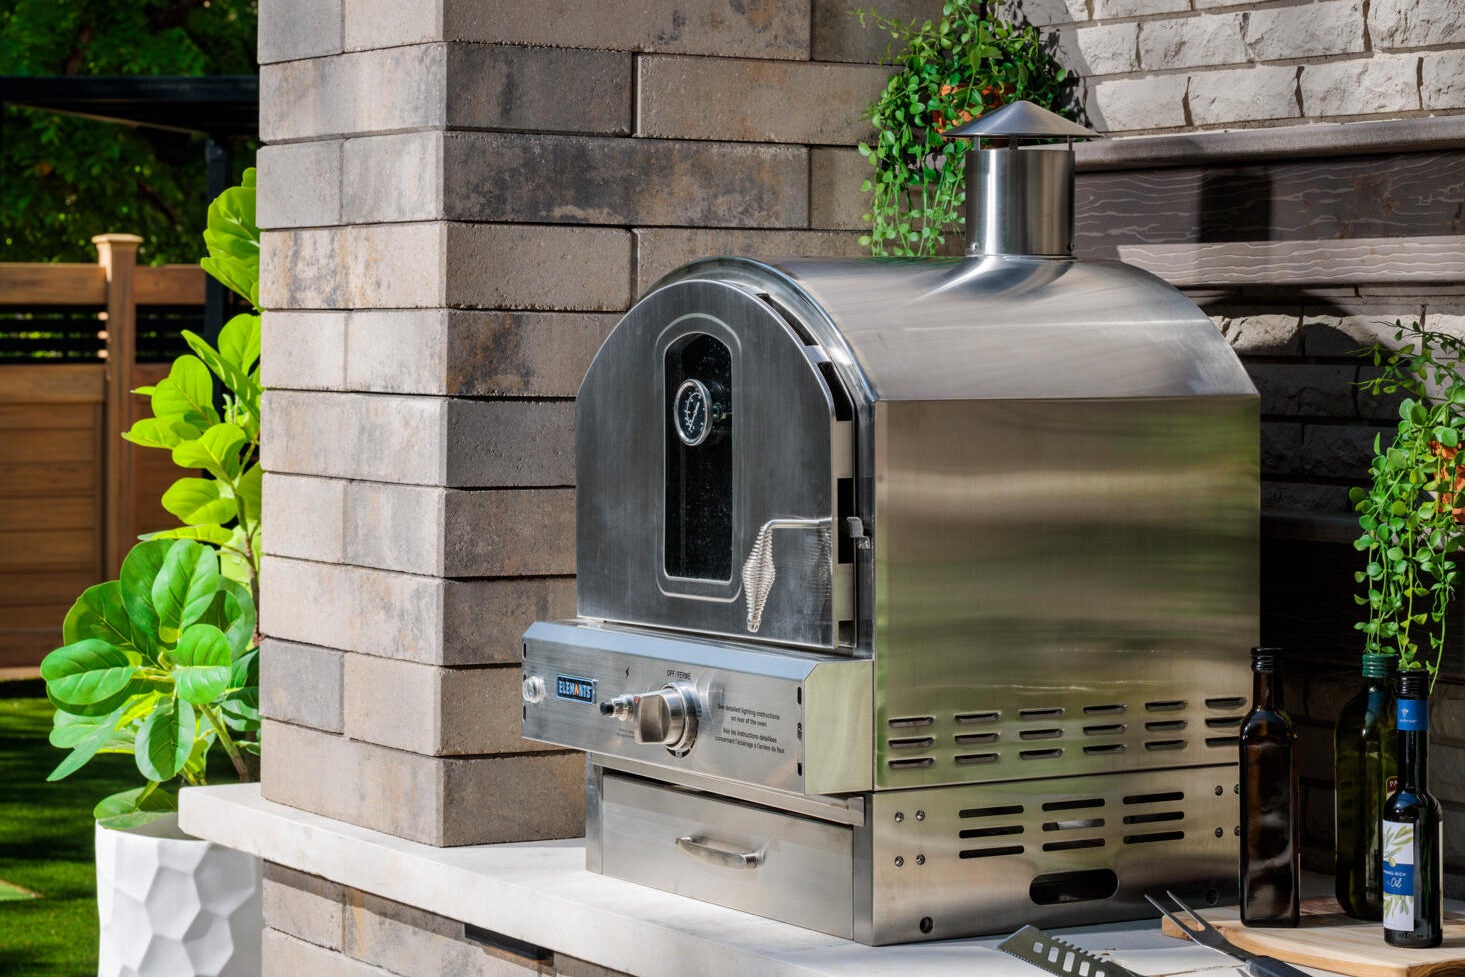
If you live somewhere with a more moderate climate, you may be lucky enough to use your outdoor kitchen throughout the winter. However, if you live in an area with extreme winter conditions, it may be best for you to shut down the outdoor kitchen in preparation for the frigid temps.
First, clean the kitchen area thoroughly, then cover your sink and built-in grill. Keep your refrigerator and ice maker uncovered. After you unplug, empty, and clean the fridge, leave it slightly open to let it dry. Leaving your outdoor refrigerator this way until spring helps prevent mold. Or, close it, but regularly check it to ensure nothing’s growing on the interior. Don’t forget to shut off the main water line to your outdoor kitchen and drain all the water lines to your refrigerator, ice maker, and sink.
5. Clean Patio Furniture and Cushions
If you do not plan to use your outdoor space for winter, it is best to clean and store furniture and cushions to ensure their longevity. If you have the room, store your outdoor furniture in a shed, the garage, or the basement. Prior to storage, wipe the furniture down to remove dirt, grime, and pollen, then use mild dish soap and water to clean it. Cushions can be cleaned with soap and water or a mix of water and white vinegar. Make sure that both the furniture and cushions are dry before storing to prevent mold and mildew. If you can’t put your furniture away, you can use special waterproof covers to protect it from the elements.
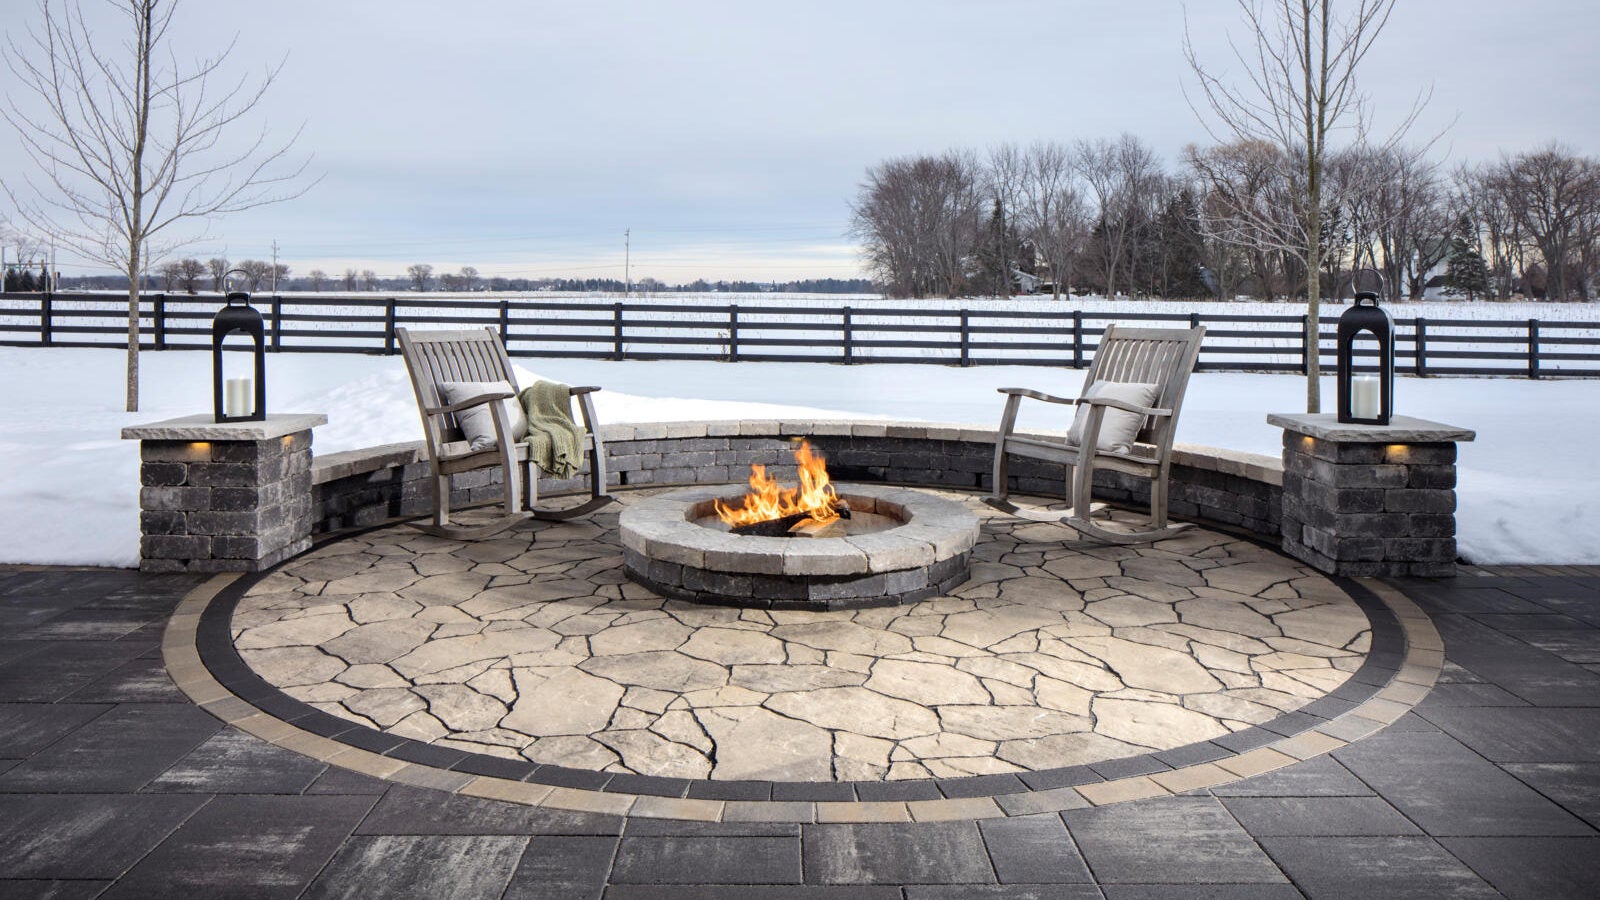
Taking the time during fall to prep your outdoor space for winter is a wise decision. Although a bit of work, it will pay dividends in the long run, helping your outdoor investments remain in good condition and last for seasons to come.
