Outdoor Project Planning Phase 2: Find a Contractor and Finalize Your Plans.
Special Note: This is the second blog of a five-blog series to help you continue on the path to planning your project. In the first blog, “Inspiration and Budget Planning,” we discussed the first phase.

After you have completed Phase 1, you are ready to begin the search for a contractor. You will need a qualified contractor for installation of patios, outdoor living areas, hardscapes, decks and pools. Here are three helpful steps to follow as you find a contractor and finalize your contract. Plan for this phase to take 2-3 weeks.
1. Ask for referrals or visit Belgard.com to find an authorized contractor.
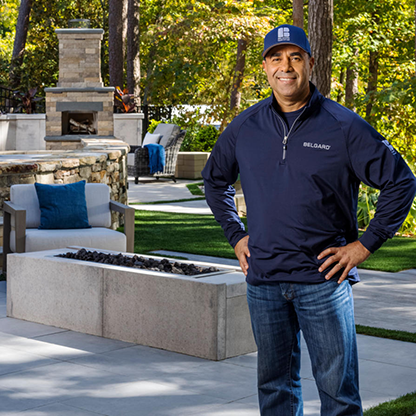
This is the perfect time to network with neighbors, friends and family, who may have just completed recent outdoor projects. We suggest that you seek referrals for local contractors. Belgard can connect you with a network of authorized contractors, who meet rigorous requirements and are Interlocking Concrete Pavement Institute (ICPI) trained to deliver superior work.
2. Review contractors’ credentials.
With several possible choices, we suggest that you use this list of seven important points to help you narrow down your list.
- Ask about qualifications and experience. Do they have specialized certifications and training?
- Proof of Insurance and business license. Is the business approved with the state and/or local municipality?
- Customer references. Ask for past project photos and former customer testimonials.
- Subcontracted services. Find out if they will manage services outside of hardscaping, such as landscaping, irrigation and lighting.
- Payment terms and turnaround. Ask about financing options and payment terms, as well as the estimated project start and completion dates.
- Sealants and maintenance. Do they offer a program for cleaning and resealing pavers?
- Workmanship guarantee. Do they provide a 1-year guarantee post installation?
3. Select your contractor.

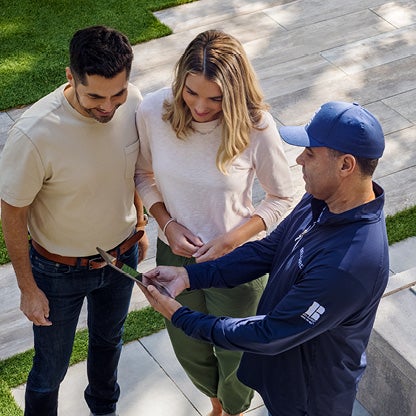
After you have viewed the contractors’ credentials and narrowed down your list, invite each to come to your home. This is an opportunity to discuss the project(s) and get initial input. You can present them with the ideas you have in mind. Show them mood boards, photos, and any other creative ideas you may have. Include mention of your favorite styles in this discussion and ask for their initial thoughts. Request quotes and a timeline to be provided for your project(s). Some contractors may not be able to begin your project right away. And for others, the project may take different amounts of time.
With quotes in hand, it will be time to choose your contractor. Don’t automatically choose the lowest bid. You need to factor in trust, craftmanship and the professionalism that each candidate has shown throughout the process.
Finalize your contract.
You have found your contractor. Now you need to finalize the contract. Be sure you understand all stages of your project. This would start with demolition and site preparation stages and end with paver cleaning and sealing. Confirm that the contract includes all the timelines, materials and costs. This portion of the contract may vary as each contractor is different. The design phase of your project may be billed separately.
Remember you are hiring the contractor to help you with the specifics. These include design recommendations and product selection. You should get a finalized schedule that includes planned completion dates for all the stages of your project. Allow some flexibility based on size and scale of the project, approvals from HOAs or architectural review boards and weather. If you have any questions or need changes made to the contract, communicate that with the contractor. Be sure to get everything in writing.
With a contract in hand, you will be well on your way to working with a pro. You’ll begin initial work on the third phase of your project: design. Your next step will be design and setting expectations for your space. If you happen to be working with a design service like Yardzen, be sure to communicate that with your pro.

For more information on planning your project, visit our outdoor planning page. Watch for more helpful tips and advice in the next blog of this series: Phase 3: Design.


