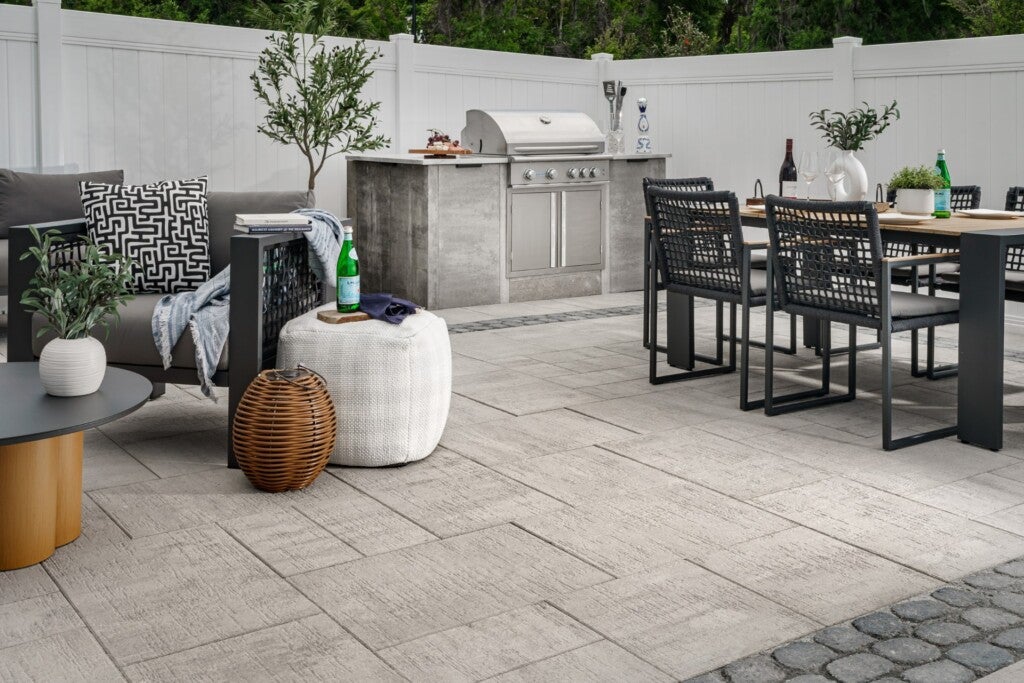
Outdoor Project Planning Phase 5: Maintenance
Special Note: This is the last blog of a five-blog series to help you continue on the path to planning your project. Find the previous blogs here and get guidance and tips for every step of the way.
- Phase 1: Inspiration and Budget Planning – Five milestones to complete before selecting a contractor.
- Phase 2: Move Forward with Your Dream Project – Tips for finding a contractor and finalizing a contract.
- Phase 3: Visualize Designs and Turn Ideas into Plans – Design recommendations and developing a design plan.
- Phase 4: Build Your Dream Outdoor Space – Preparations prior to project installation.
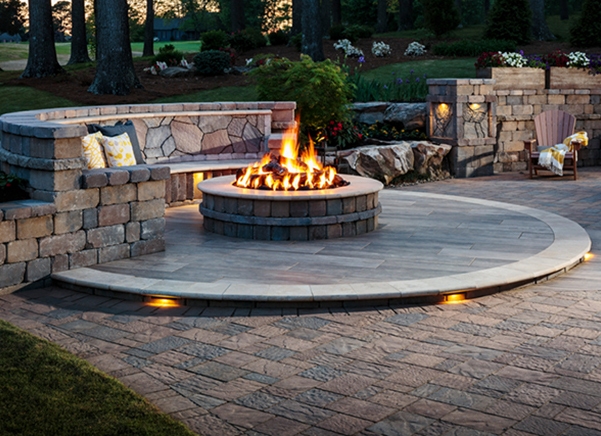
Now that installation is complete, you can enjoy your outdoor dream space. Here are some steps we recommend for lasting enjoyment.
. . .
Post Installation: Three Important Action Items for Follow-Through
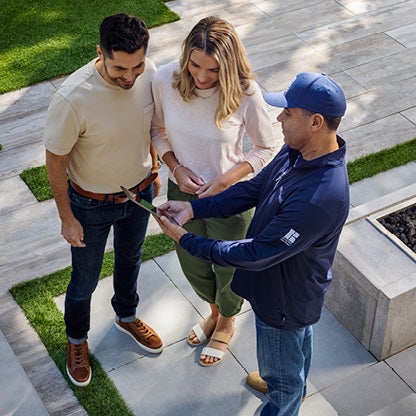
1. Schedule a Walk-Through with Your Contractor.
The final walk-through gives you an opportunity to button up any loose ends. Your contractor can walk you through all the work that they completed. They will ensure that all your expectations have been met and the standards established in your contract are complete.
During the walk-through, ask about maintenance. Be sure you have a full understanding of how to maintain your hardscapes. This will include finding out what cleaners to use or asking about what maintenance packages they may offer.
Before the walk-through ends, make sure you request all the final documentation, such as receipts and warranties, so you can hold those for safekeeping.
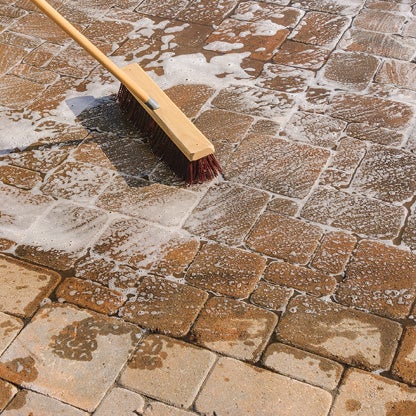
2. Discuss How to Clean and Maintain Your Pavers
Maintaining your pavers is important when it comes to keeping your new investment looking its best. You can either hire a contractor to perform follow-up maintenance, or you can too, if you have done your research and feel comfortable with the work involved.
For your first cleaning, you will need to wait about 90 days before applying a cleaner on new pavers or concrete. It’s a good idea to discuss the best cleaning options with your contractor. Effective cleaners, like those formulated by Techniseal™, offer you several options for maintaining the beauty of your hardscapes. You should plan to clean your pavers each spring to maintain their appearance and remove any slippery substances like built-up dirt and algae that can accumulate over time.
Tip: Clean Your Pavers in Three Steps
- Read all instructions printed on the container’s labels to find out how to apply the cleaning solution. Suggestion: Test a small inconspicuous area before applying any paver solution.
- Using a course-bristle broom, apply cleaner.
- Thoroughly rinse the solution off after use. If using a power washer, be careful. The spray’s force may mark the surface or weaken the jointed sand.
Note: You may notice a white haze called efflorescence appearing on your new pavers’ surface. This naturally occurs in all cement-based products, so there is no need to worry. Exposure to the elements will correct it in time and there is no need to be concerned about the material’s integrity.
In addition to cleaning your pavers, polymeric sand can be re-applied between joints as needed, typically every 10-15 years. This will ensure protection for paver joints, inhibit weeds and help deter insects.
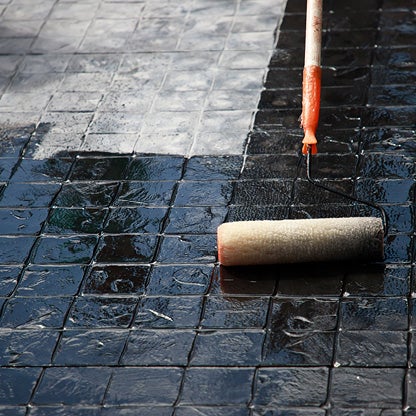
3. Learn How to Protect Your Pavers
The importance of protective sealers can’t be stated enough. When pavers have been sealed, their surface is easier to clean and maintain. You can either hire a contractor to have your pavers sealed or you can seal them yourself, if you are comfortable with all that it entails.
Sealers, like those provided by Techniseal™ offer protection. There are two types of paver sealants: film-forming (gloss or semi-gloss finish) and non-film-forming (matte finish). Film-forming sealants offer the ultimate protection because they create a physical barrier on the paver surface. Non-film-forming sealants also offer excellent protection and last a bit longer.
Depending on the specific sealer, each has various levels of protection. They help protect against water and substances like oil. They also help prevent mildew in damp areas and inhibit weed growth, which is a huge plus for easy maintenance. Techniseal™ premium quality sealants help reduce the paver’s rate of color fading from the sun’s UV rays. For more information on sealers, see Paver Sealant: To Seal or not to Seal.
Tip: Seal Your Pavers in Three Easy Steps – Techniseal™ Recommends a 1-2-3 of:
- Remove any stains with a cleaner specific to that stain. Click here for more details.
- Prep the surface with Paver Prep. This removes efflorescence and opens the pores to better accept the sealant.
- Apply the sealer, following the instructions printed on the packaging. After the application, let the surface cure for 24-72 hours.
Note: It’s suggested that you reseal pavers every 3-5 years.
By following through on a walk-through with your contractor and establishing the timelines for sealing and maintaining your hardscape, you will be reassured about the project’s success and have the confidence in knowing the steps for maintaining and protecting your new hardscape.
With these helpful action items to wrap up your project, we hope you will enjoy your new hardscape for years to come.
. . .
For more information on planning your project, visit our outdoor planning page.